How to Bulk Colorize Manga & Webtoon Chapters with AI (2026)
How a $20,000 colorization quote led to building the tool that does it for a fraction of the cost — and what creators need to know about AI-powered webtoon colorization in 2026.
 Watashi Games|
I spent $10,000 commissioning a black-and-white webtoon for a video game I was developing. Twenty chapters. Roughly 100 images per chapter. The art was exactly what I wanted.
Then I got the colorization quote: $1,000 per chapter.
That's $20,000 on top of what I'd already paid — just to add color. For an indie game dev, that's not a budget line item. That's a second mortgage.
I started looking for alternatives. AI colorization tools existed, but every one I tried had the same problems: colors drifting between panels, characters changing hair color mid-scene, dark art scenes getting mangled, and vertical webtoon strips getting squashed into square canvases that destroyed fine detail.
So I built Watashi Colorizer. And in this guide, I'm going to walk you through exactly how bulk webtoon colorization works in 2026 — the pitfalls, the pipeline, and how to get results that actually hold up across entire chapters.
The Real Problem With AI Colorization (That Nobody Talks About)
Most AI colorization tools treat each image as an isolated unit. Upload one image, get one colorized image back. That works fine for a single illustration or a meme.
But webtoons aren't single images. They're sequences. A character walks through a door on page 14, and the hallway on page 15 needs to be the same color. A conversation spans three pages, and the protagonist's red jacket can't suddenly become brown.
When you process images one at a time, the AI has no memory. It re-interprets colors from scratch every single time. The result? A chapter that looks like it was colorized by a different artist on every page.
This is the cross-panel consistency problem, and it's the reason most creators give up on AI colorization after the first attempt.
How Virtual Image Splitting Changes Everything
Webtoon pages aren't like manga pages. They're tall vertical strips — sometimes thousands of pixels high — with multiple scenes separated by black panel dividers. A single page might contain the end of a fight scene at the top and the beginning of a quiet conversation at the bottom.
Traditional AI colorizers handle this in one of two ways:
- Downscale the entire strip to fit into a square canvas. This crushes detail in tall images.
- Chop the strip into fixed-size chunks. This cuts scenes in half, leading to color mismatches at the seams.
Watashi Colorizer does something fundamentally different: virtual image splitting.
Here's how it works:
- Scan every row of every uploaded image, looking for pure-black panel dividers
- Split pages into individual art bands at those dividers — each scene segment becomes its own unit
- Batch art bands by scene continuity, not by which page they came from
This means if a scene starts at the bottom of page 12 and continues at the top of page 13, those two art bands get stitched together and sent to the AI as a single piece. The AI sees the full scene context and produces consistent colors across the page boundary.
No seams. No color drift. No mid-panel splits.
Step-by-Step: Colorizing a Full Chapter in Under 10 Minutes
Step 1: Create a Project and Upload Your Pages
Create a new project (you can name it after the chapter), then drag-and-drop or select all your black-and-white page images at once. The tool accepts PNG, JPG, and WebP formats. There's no limit on the number of images per upload — we've tested with 200+ page chapters.
Step 2: Select Images and Choose a Palette (Optional)
Select the images you want to colorize (Ctrl+click, Shift+click, or "Select All"). If you have a character palette set up, choose it from the palette dropdown. If not, the AI will infer colors on its own — which honestly works well for most cases.
Step 3: Hit "Colorize" and Wait
The system automatically splits your pages into art bands, forms optimal batches, and sends them to the AI. You'll see a progress bar tracking each batch. A typical 20-image chapter takes 3–8 minutes depending on complexity and page height.
Step 4: Review and Accept
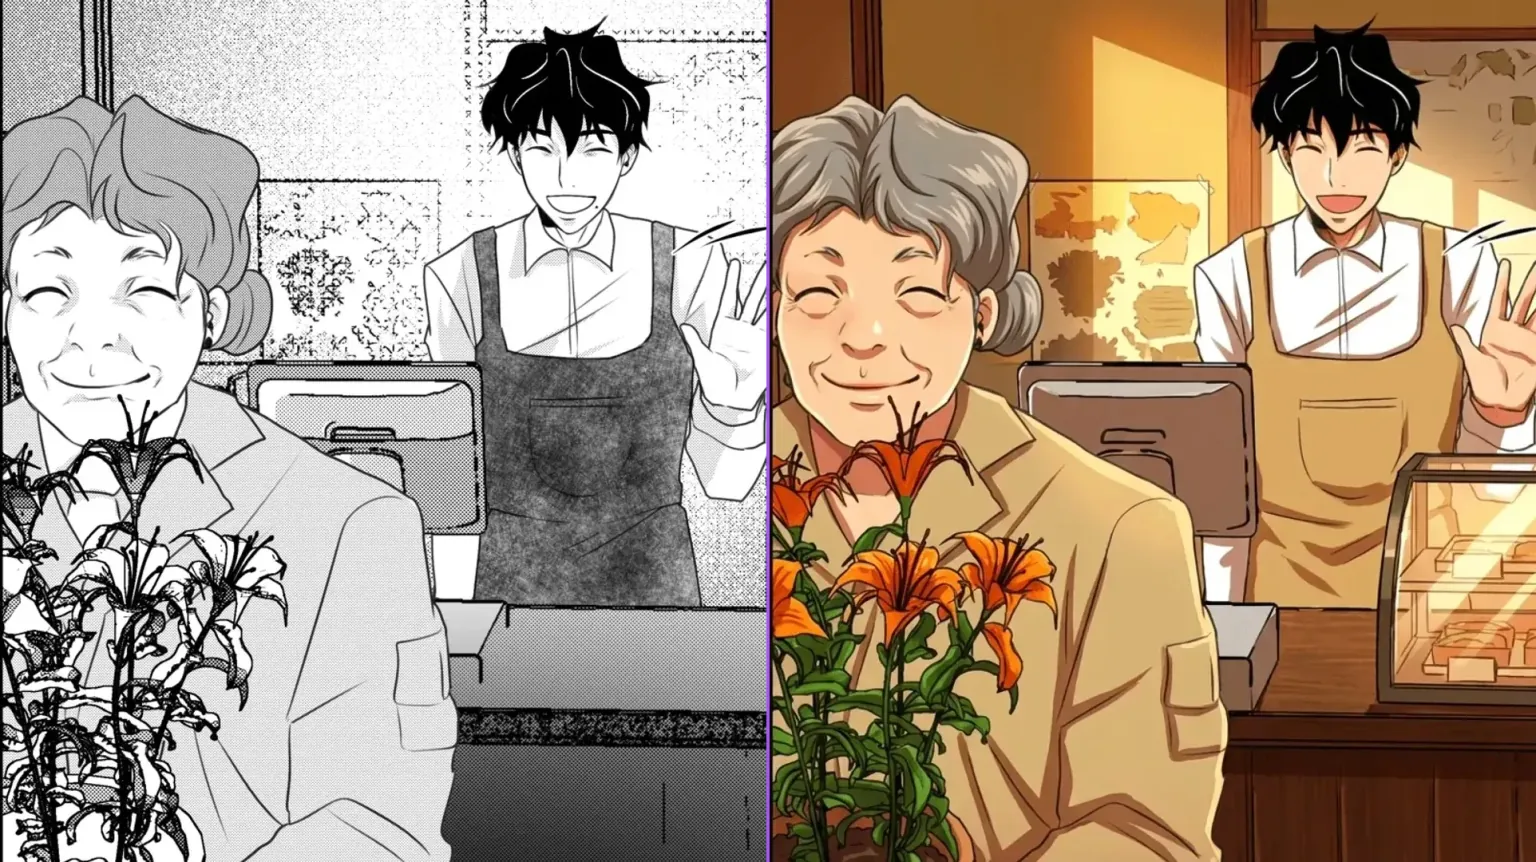
Once processing finishes, a review panel shows you each colorized image side-by-side with the original. You can accept all, reject all, or cherry-pick individual images. Rejected images keep their original state so you can retry with different settings.
The Character Palette System: Why It Matters
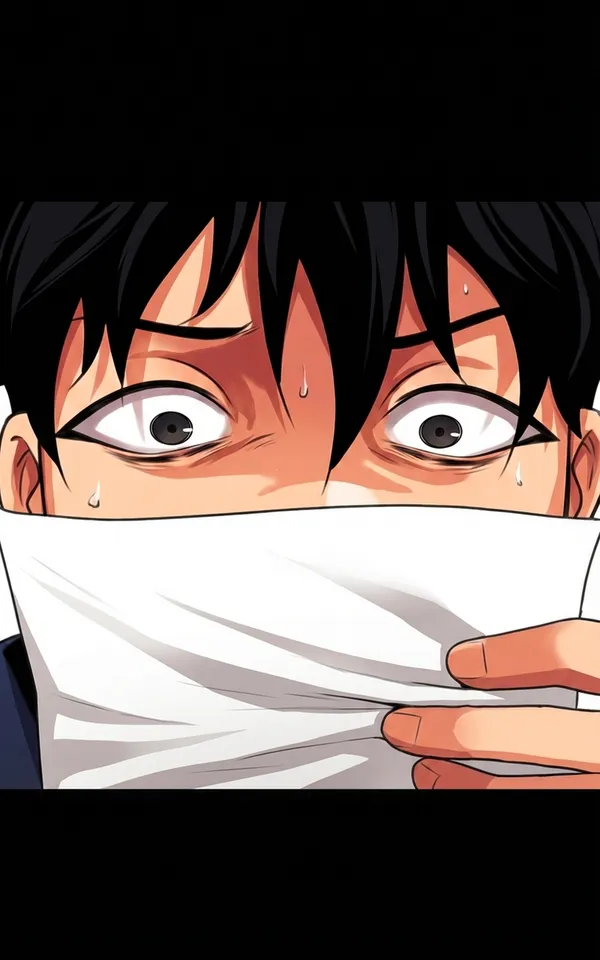
Without guidance, the AI makes its best guess at colors. Sometimes that guess is perfect. Sometimes the protagonist's hair shifts from auburn to dark brown between batches. For one-off images, that's fine. For a 20-chapter series, you need consistency.
That's what character palettes solve. You create a JSON palette that describes each character's colors in plain language:
"Hiro (male, early 20s): short black hair, dark brown eyes. Wears a navy blue zip-up hoodie over a white t-shirt, dark gray jeans, white sneakers."
"Saki (female, early 20s): long straight black hair reaching mid-back, dark brown eyes. Wears a cream-colored knit sweater, light blue jeans, brown ankle boots."
These descriptions get injected into every AI prompt for that project. The AI doesn't just see "colorize this manga panel" — it sees "colorize this manga panel where Hiro has a navy blue hoodie and Saki has a cream sweater." The result is dramatically more consistent across batches.
You can toggle individual characters on or off per run. Got a flashback scene where Hiro is wearing a different outfit? Disable his palette entry for those pages and let the AI improvise.
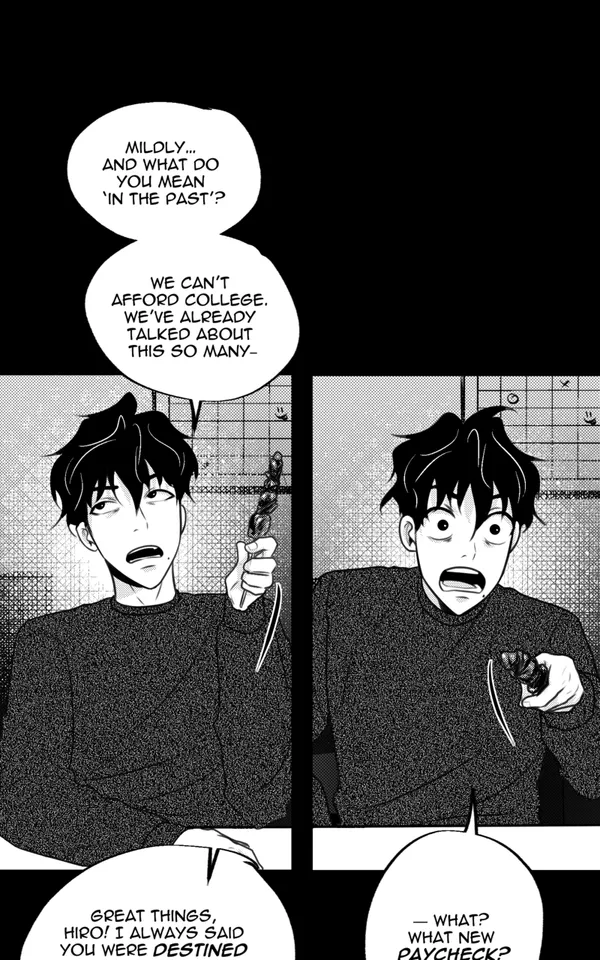
B&W
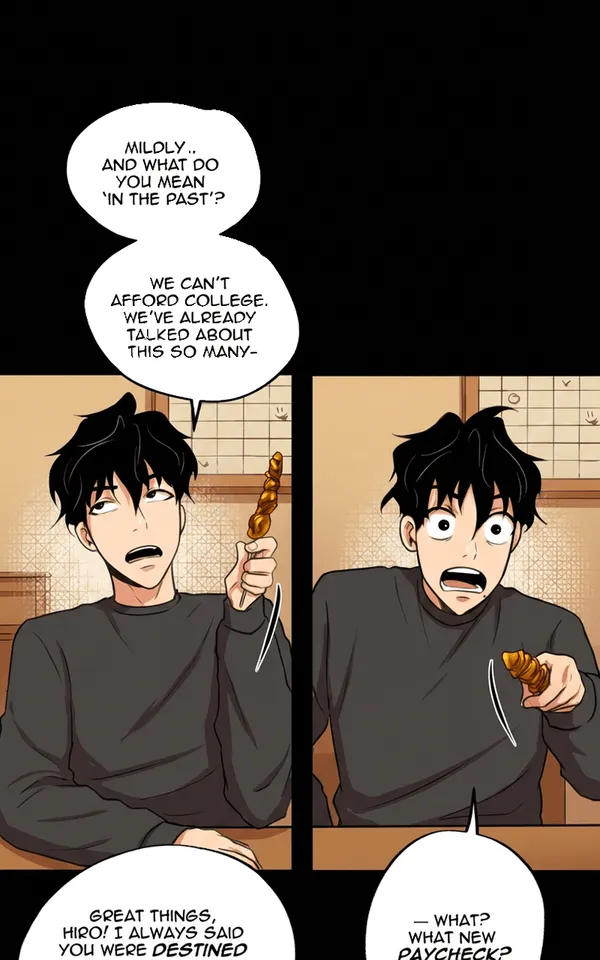
Color
B&W
Color
Edit Mode: Fine-Tune Any Panel With Natural Language
Sometimes the AI nails 95% of an image but gets one detail wrong — a character's shirt is blue instead of red, or the sky is overcast when it should be a golden sunset. You could re-run the whole batch, but that's wasteful.
Edit mode lets you select specific images, write a natural language instruction, and re-colorize just those panels. The AI receives the already-colorized version plus your instruction, so it makes targeted changes instead of starting from scratch.
Examples of edit instructions:
- "Make the sky a warm sunset orange instead of blue"
- "Change the character's jacket from brown to dark red"
- "The wall in the background should be pale yellow, not gray"
- "Increase the saturation of the entire scene"
- "Make this scene feel colder — more blue-tinted lighting"
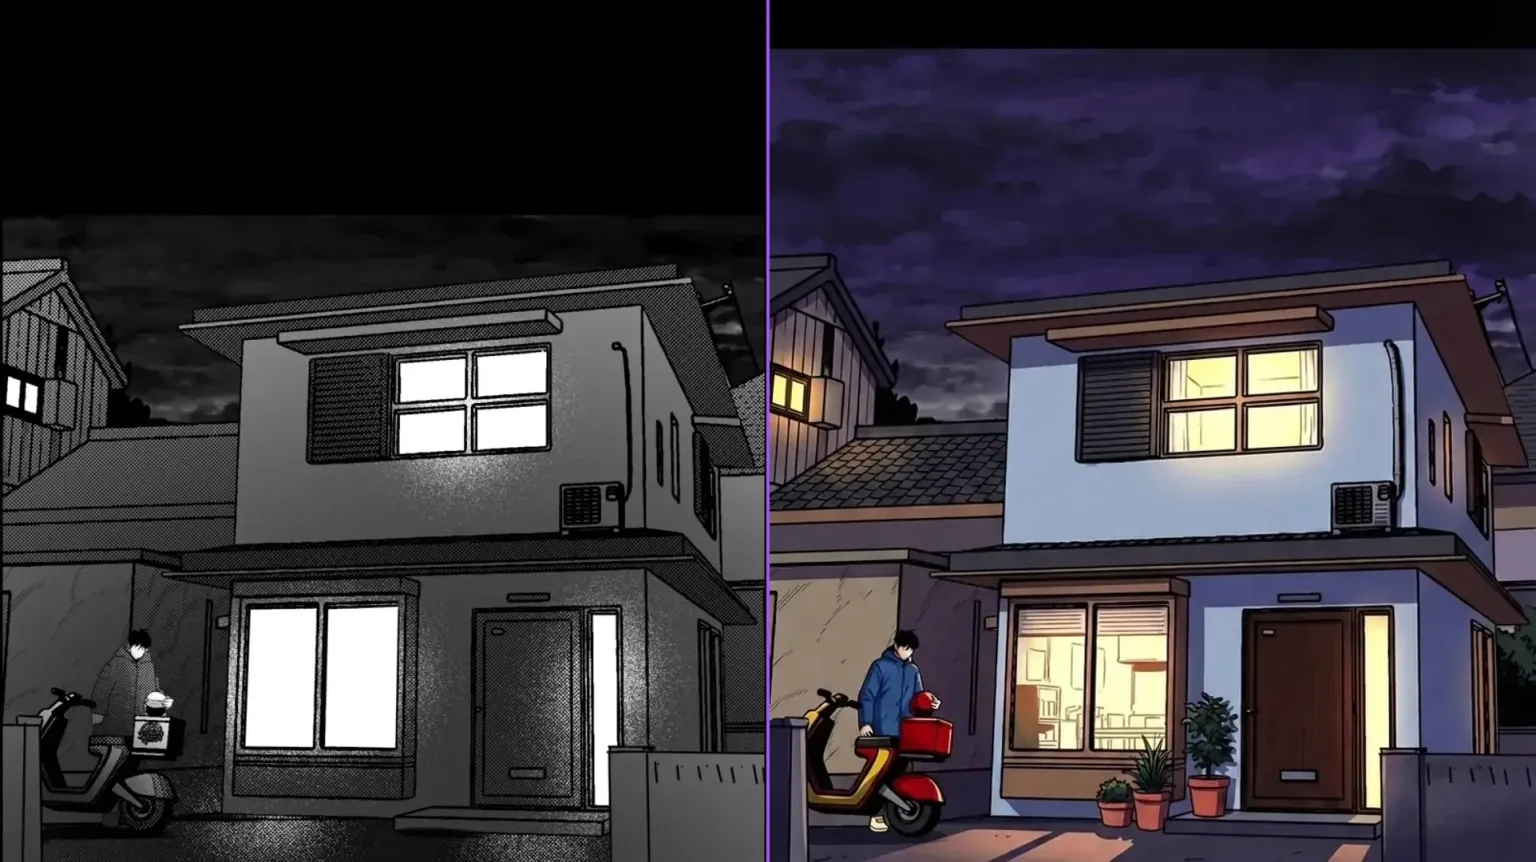
This is incredibly powerful for mood adjustments. You can shift an entire scene from warm daytime to cool nighttime with a single instruction, without losing any of the detail work.
What About Detail Preservation?
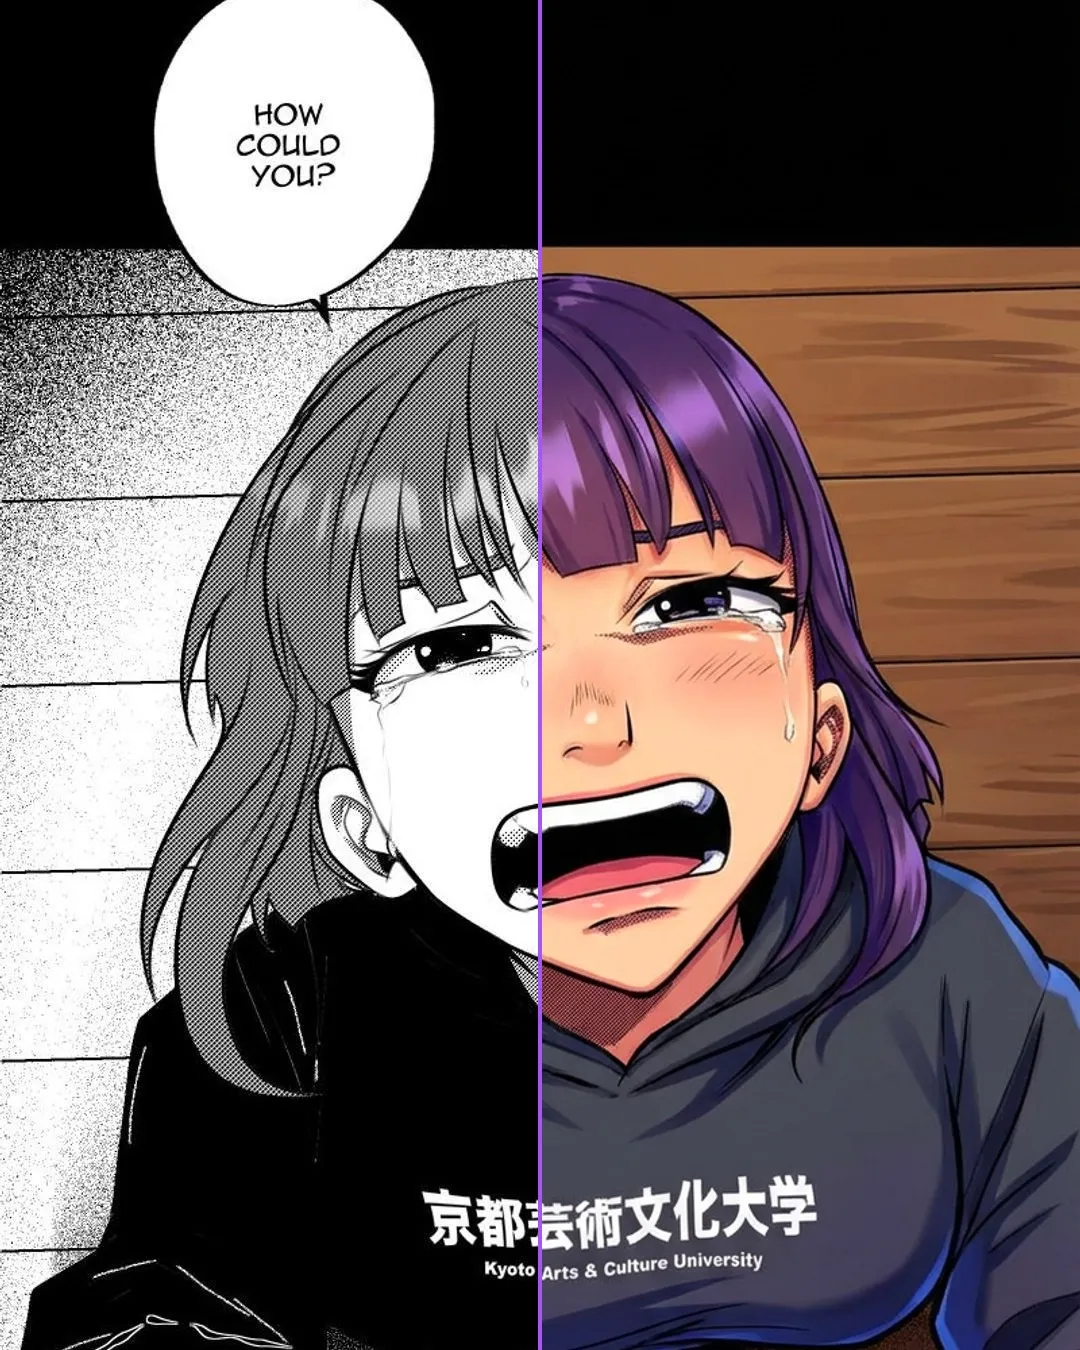
This is the question every artist asks first, and rightfully so. If the AI colorization smudges your line art, softens your hatching, or loses the texture you spent hours drawing, it's worthless.
Here's what Watashi Colorizer does to preserve detail:
- Output at original dimensions. Your images go in at 1280px wide, they come back at 1280px wide. No downscaling, no upscaling artifacts.
- Smart batching preserves aspect ratio. Virtual image splitting means the AI always sees content at a natural aspect ratio, never squashed or stretched.
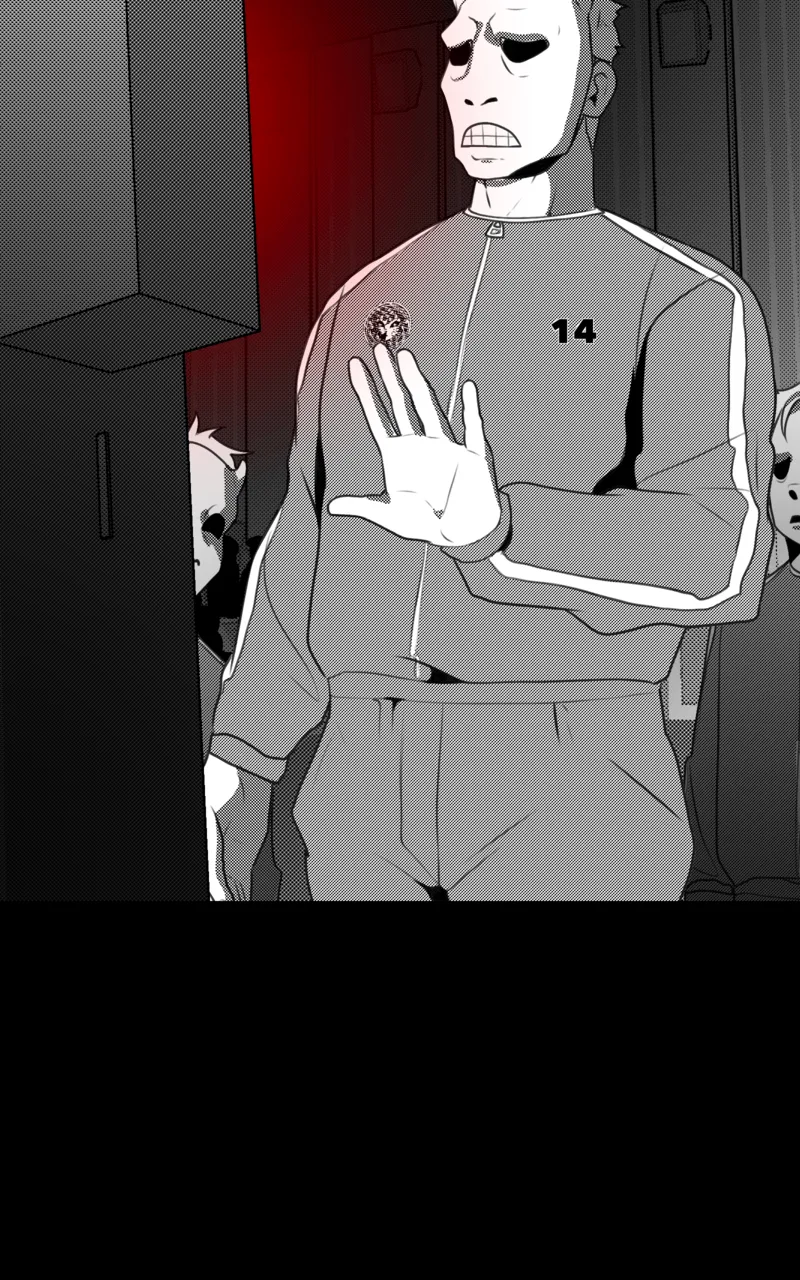
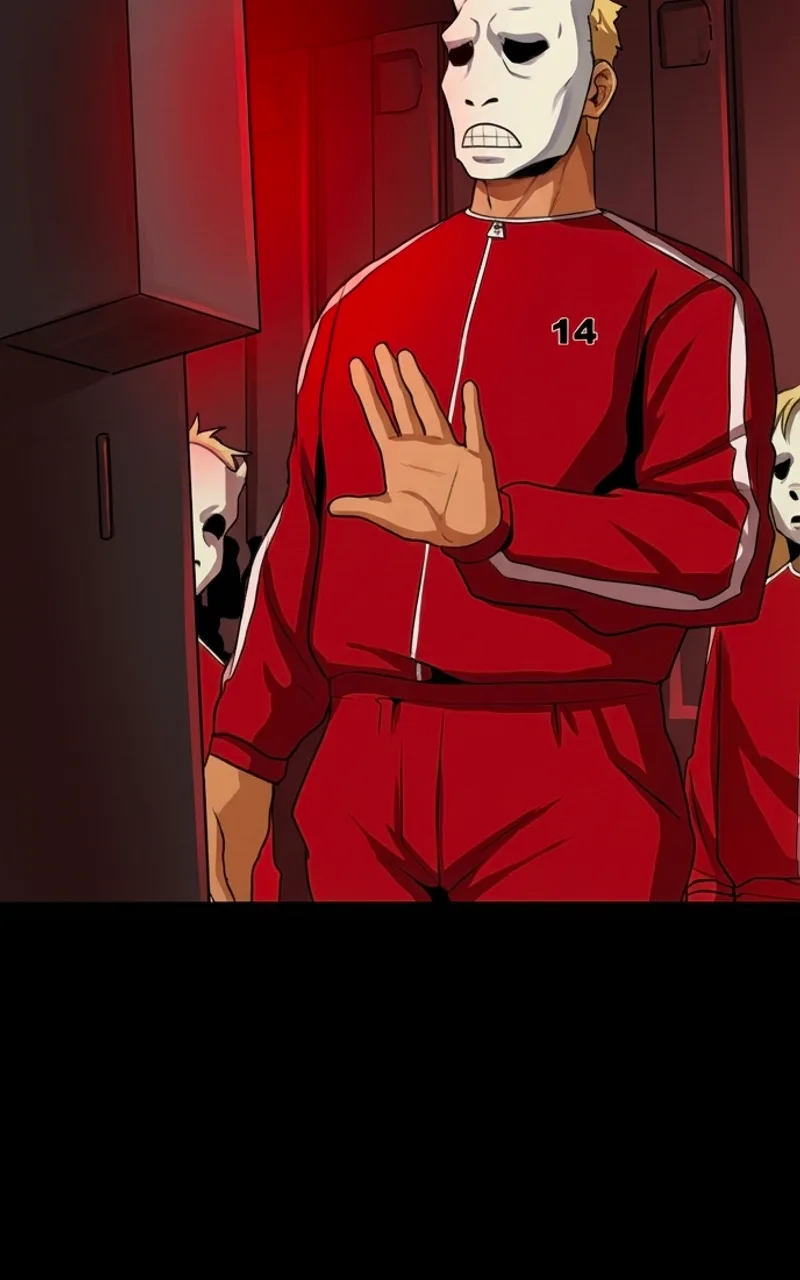
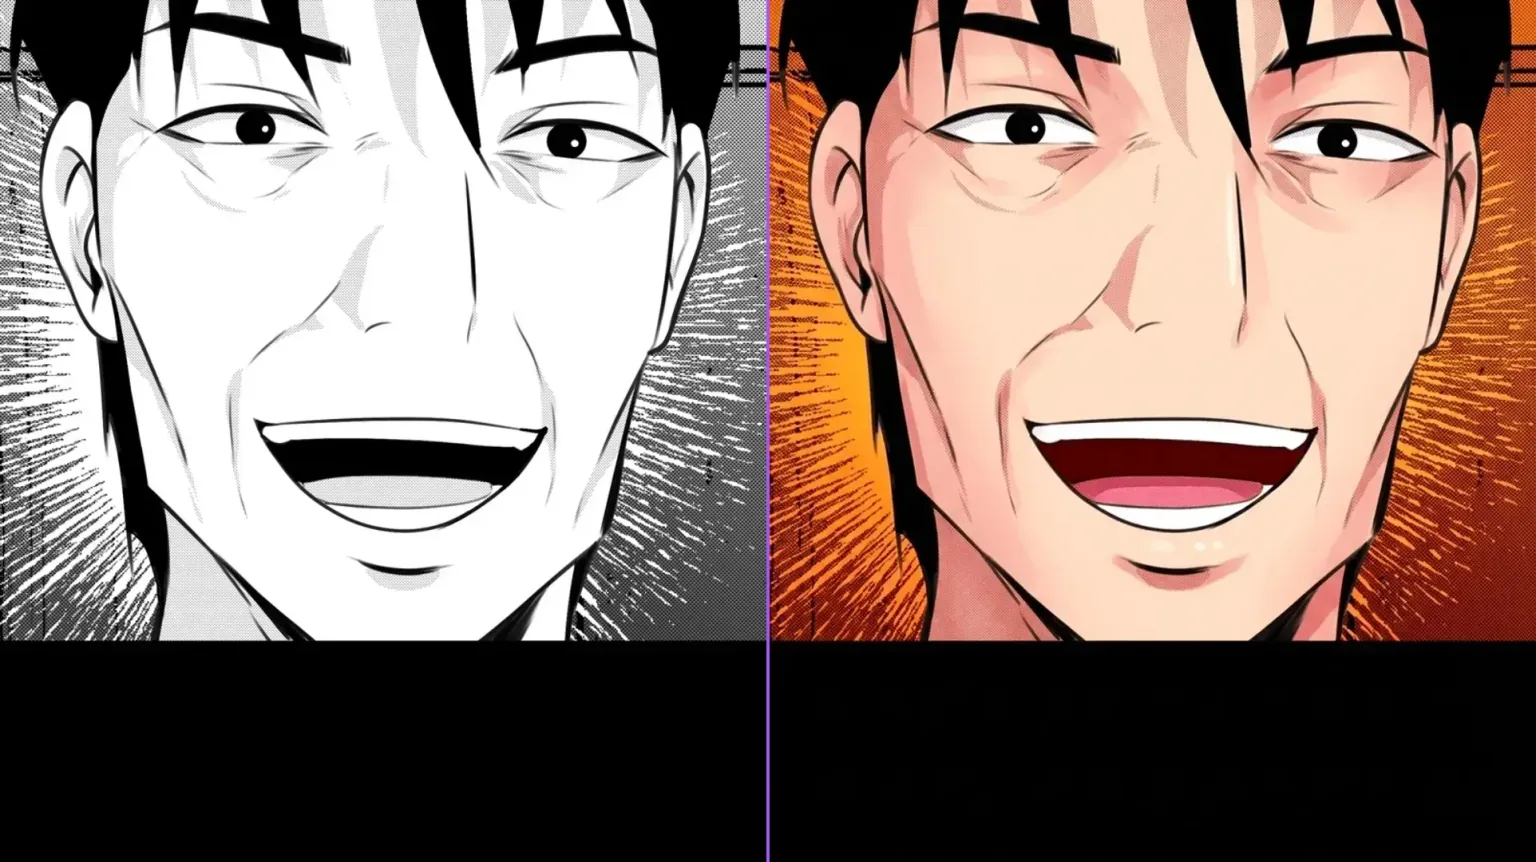
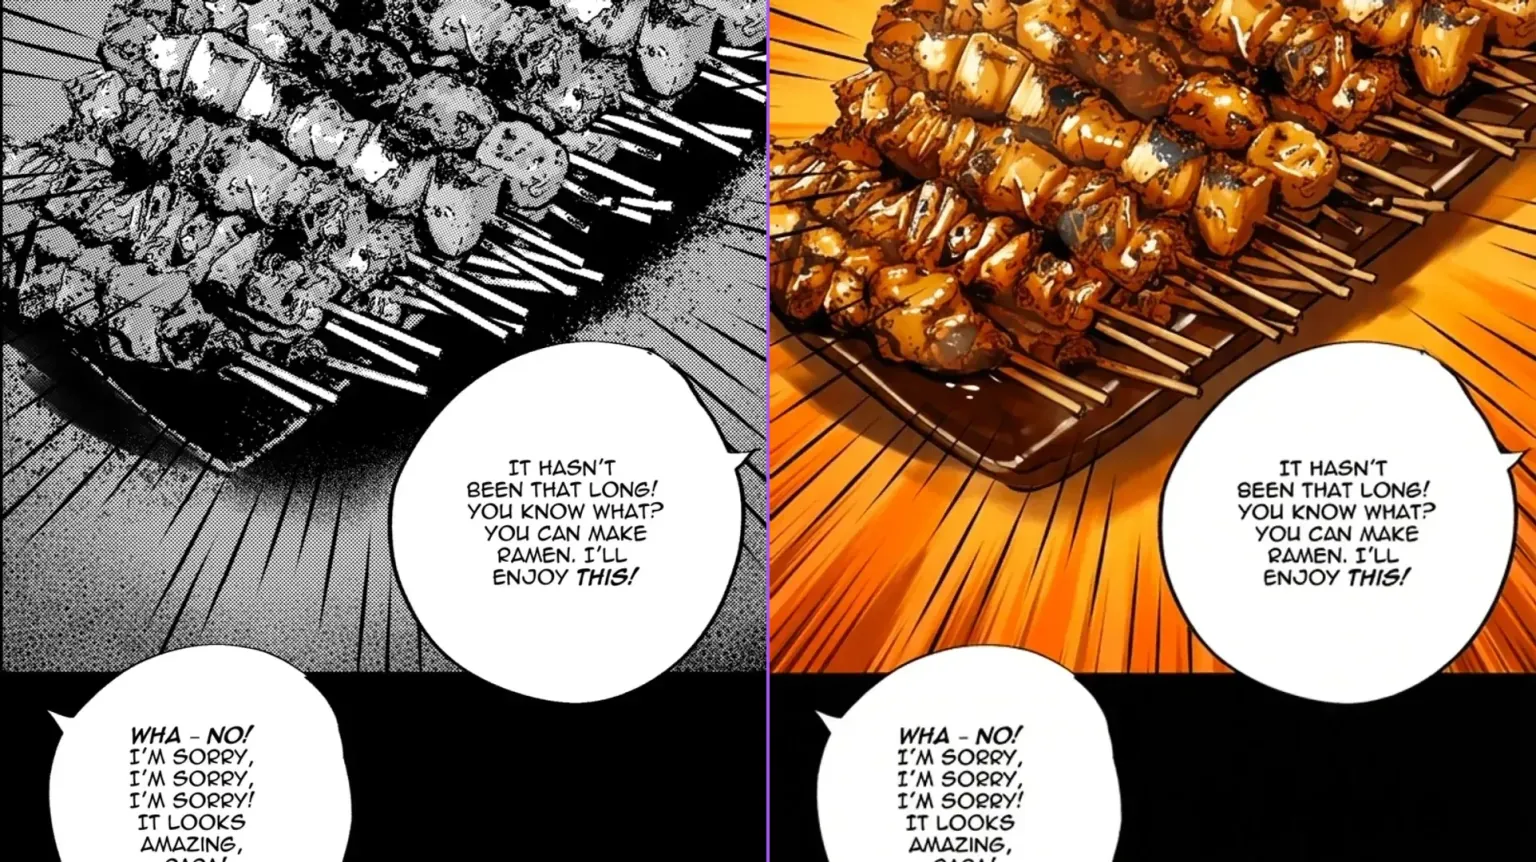
- High-quality AI models. The colorization uses state-of-the-art vision models that understand manga and webtoon art styles. Cross-hatching stays as cross-hatching. Speed lines stay sharp. Screentone patterns are preserved, not smeared.
- Black panel dividers stay black. The system specifically preserves pure-black dividers and gutters. No color bleeding into structural elements.
B&W
Color
It Works Across Moods and Styles
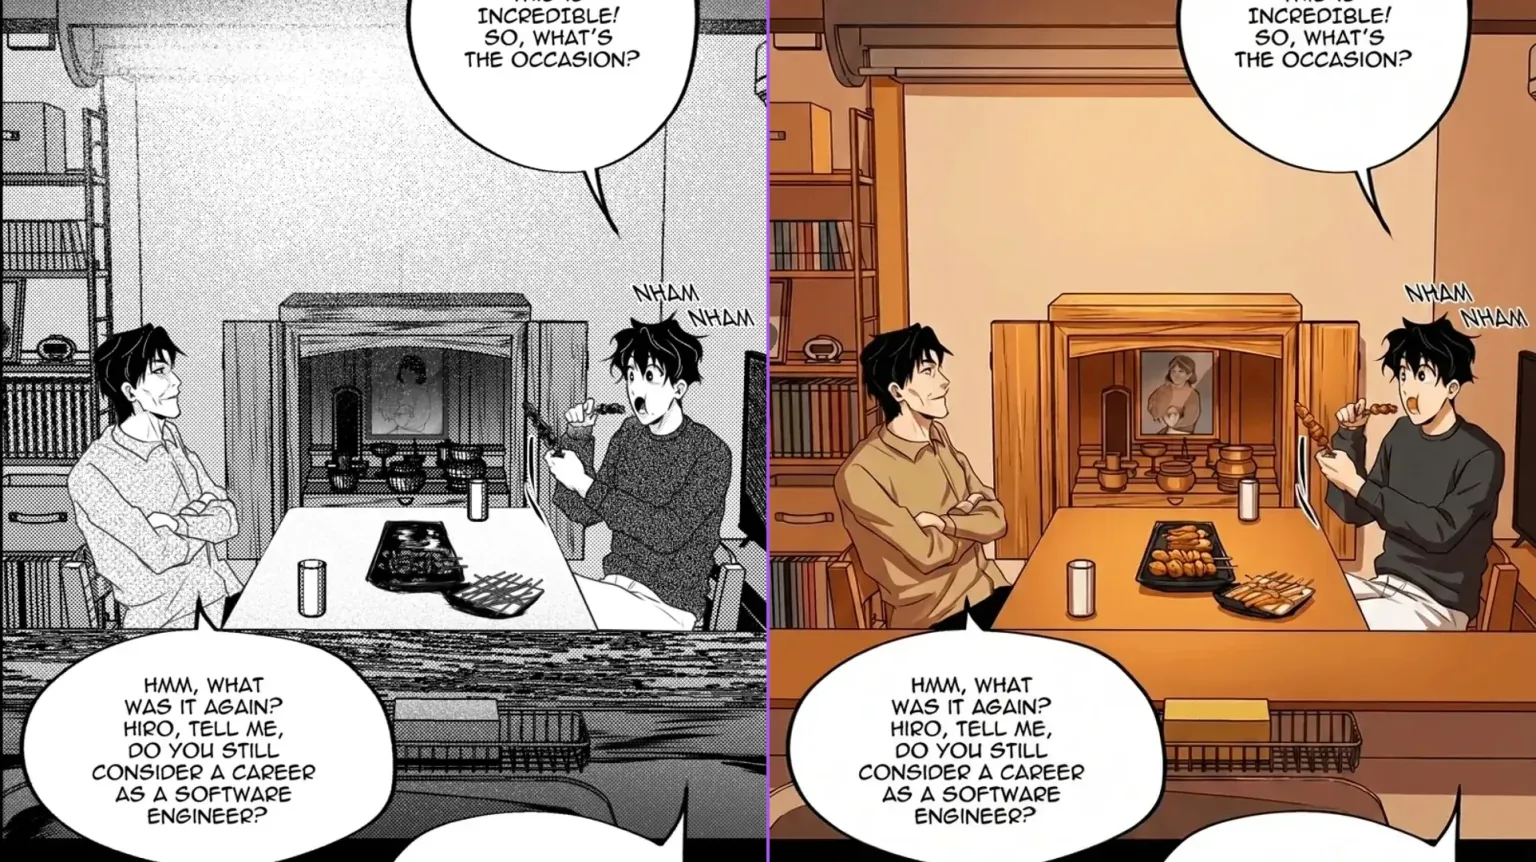
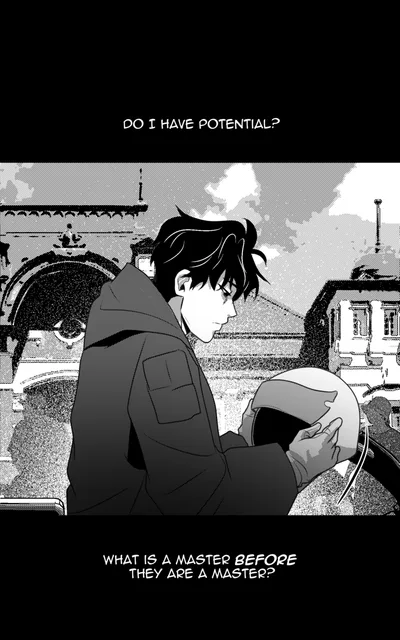
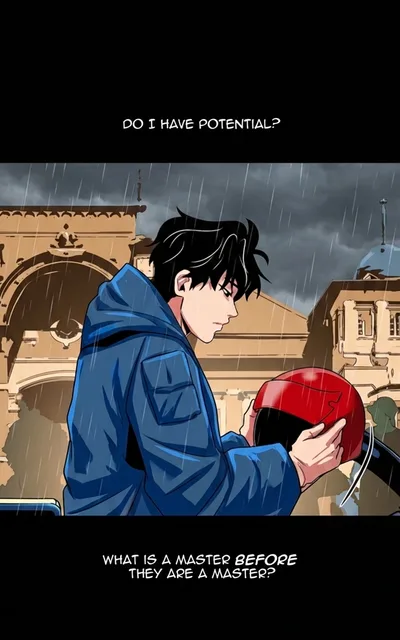
One of the hardest things about colorization is handling mood shifts within the same chapter. A bright daytime conversation needs warm, saturated colors. A rainy nighttime chase needs cool, desaturated tones. Dark underground scenes need careful handling so the art doesn't get lost in murky browns.
Because the AI processes scenes in context (not individual panels), it reads the visual cues — rain lines, dark backgrounds, character expressions — and adjusts the color palette accordingly. You don't need to manually specify "this scene is nighttime." The AI figures it out.
B&W
Color
Pricing That Makes Sense for Indie Creators
Remember that $1,000-per-chapter quote I mentioned? Here's what Watashi Colorizer costs:
- 6 free credits to start, plus more by opting into email, taking a quick survey, or sharing your results
- Credit packs starting at $9.99 for 50 credits (Pro costs 4 credits/image, Flash costs 3)
- Bulk pricing for larger volumes (500+ credits)
- BYOK option — bring your own API key for Gemini and pay only the API cost (a fraction of credit pricing)
A 100-image chapter typically costs $36–$60 with credits depending on model (Flash or Pro), or $3–$13 with your own API key. Compare that to $1,000 for a human colorist. Even if you need to re-run some images a few times, you're still under $80 for a chapter that would have cost $1,000.
That's the difference between "I can't afford to colorize my webtoon" and "I can colorize my entire backlog this weekend."
What's Coming Next: Auto-Translation for Creators
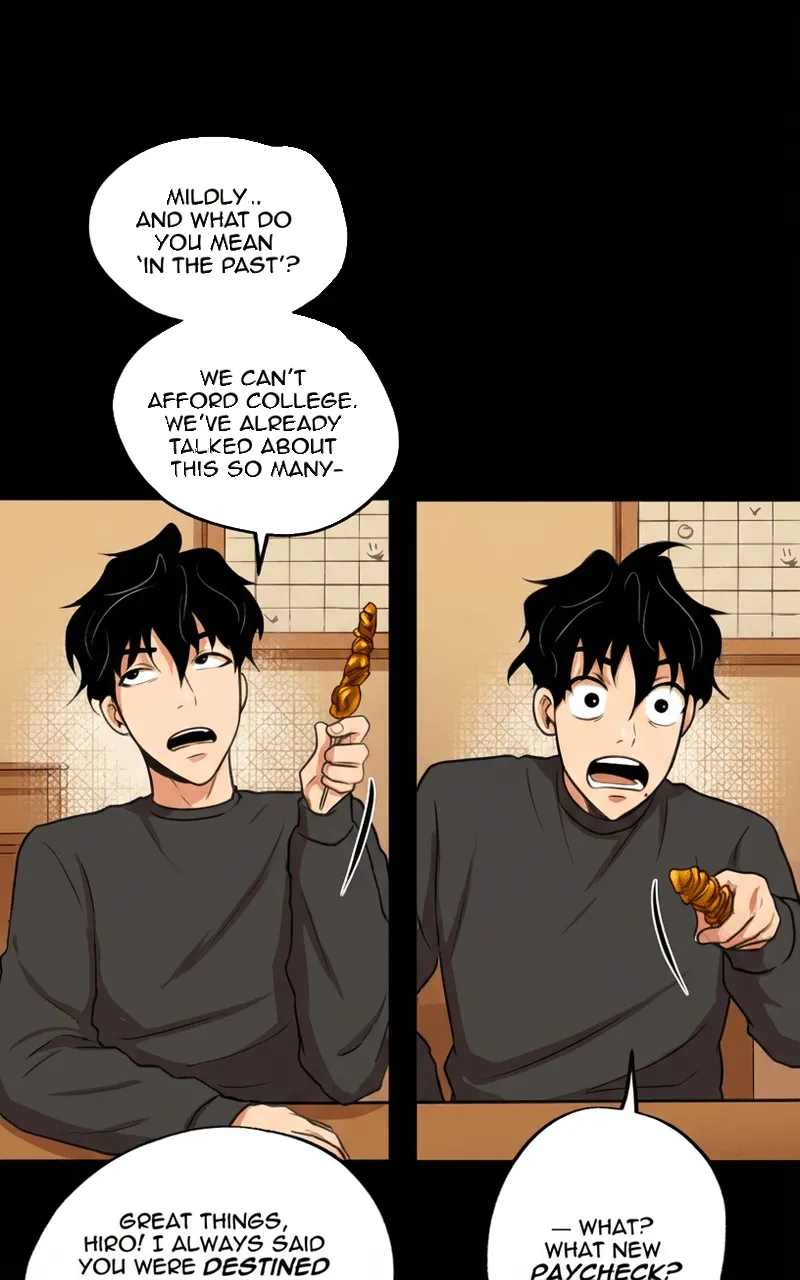
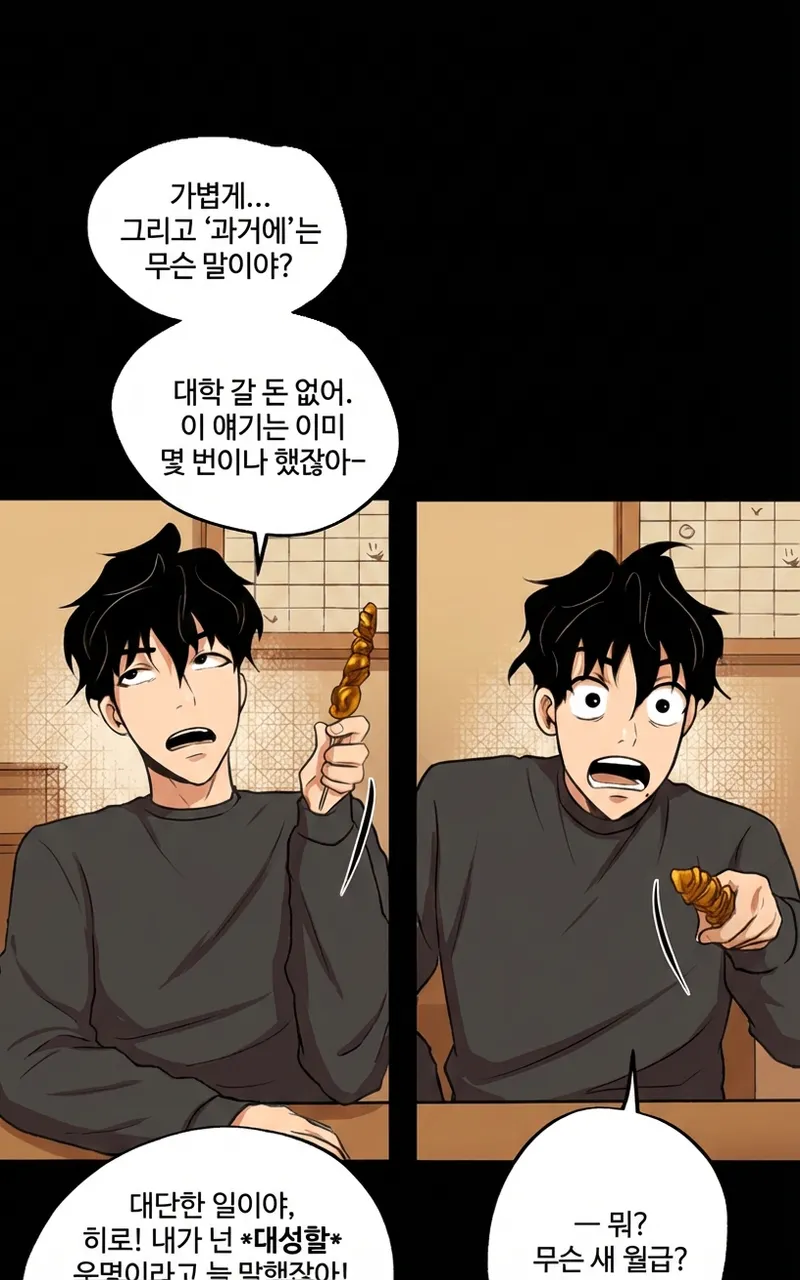
Colorization is just the beginning. Watashi Colorizer now includes AI-powered translation that detects text in your webtoon panels, translates it to any of 13 supported languages, and re-renders it directly onto the image — matching the original font style and bubble layout.
This means you can take a Korean webtoon, colorize it, and translate it to English (or vice versa) — all within the same tool. No Photoshop. No manual typesetting. No hiring a separate translator and a separate letterer.
B&W
Color
See It in Action: A Full Chapter
Want to see what a full AI-colorized chapter looks like? We've published an interactive reader with the first chapter of Damashi Game, our original webtoon series. You can scroll through the entire chapter, toggle between B&W and color, and zoom in on any panel to check detail preservation.
It's the best way to judge the quality for yourself — no signup required.
Frequently Asked Questions
Does it work with manga (right-to-left page layouts)?
Yes. You can set your project to "manga mode" which optimizes the pipeline for standard manga page layouts instead of vertical webtoon strips. The virtual image splitting adapts to horizontal panel arrangements.
What image formats and sizes are supported?
PNG, JPG, and WebP. There's no hard pixel limit, but images are internally processed at their original width (up to 1280px for webtoon mode). Larger images are downscaled to fit. Output is always at the original uploaded dimensions.
Can I use this commercially?
Yes. The colorized output is yours to use however you want — publish on Webtoon, Tapas, your own site, print, whatever. You retain all rights to your art. We don't claim any ownership of your content or the colorized output.
How does BYOK (Bring Your Own Key) work?
If you have your own Google Gemini API key, you can enter it in the settings. The tool will use your key directly for all AI calls, and Google bills you for the API usage — typically $0.03–$0.13 per page, depending on the model and how tall your pages are. This is the cheapest option for high-volume users.
What if I don't like the result?
Every colorization goes through a review step. You see the result side-by-side with the original before accepting. If you reject, the original stays untouched. You can retry with different settings, a different palette, or an edit instruction. Credits are only consumed on accepted results.
Does it handle dark/night scenes well?
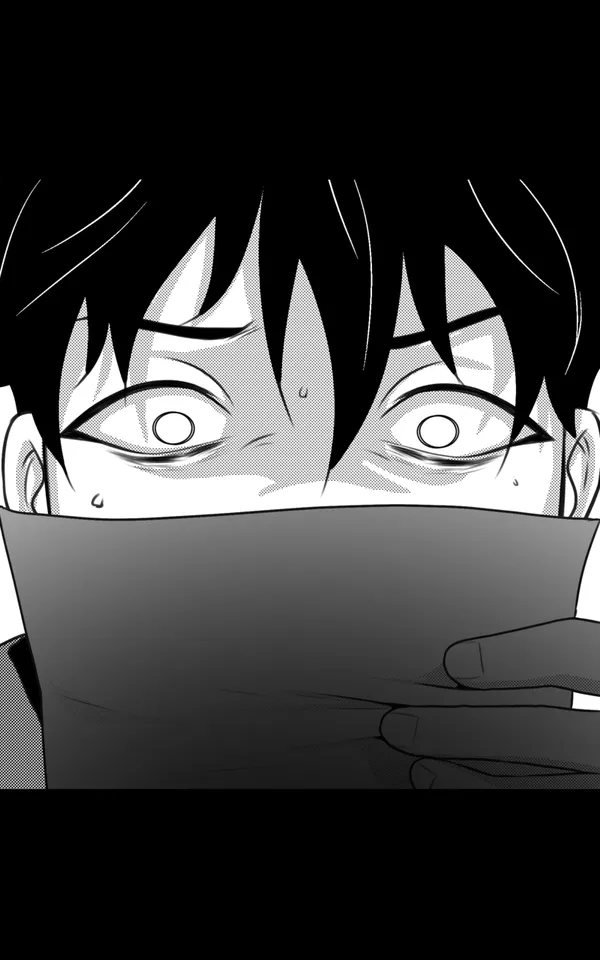
Yes. The dark pixel detection uses a very conservative threshold (RGB sum < 15) specifically so dark art scenes don't get mistaken for panel dividers. Shadows, dark hair, night skies — all get colorized properly without being stripped out or mangled.
Can I colorize the same images with different palettes?
Absolutely. You can re-run any images with a different palette, different character toggles, or different edit instructions. Each run produces new results that go through the review step.
How long does a full chapter take?
For a typical 80–120 image webtoon chapter, expect 3–8 minutes. The main variable is page height — taller pages split into more art bands, which may require more batches. The progress bar gives you real-time tracking of each batch.
Is there an API for automated pipelines?
Not yet, but it's on the roadmap. If you're a publisher processing large volumes and need API access, reach out to [email protected] and we'll work something out.
The Bottom Line
AI colorization in 2026 isn't the blurry, inconsistent mess it was two years ago. With the right pipeline — virtual image splitting, scene-aware batching, character palettes, and natural-language editing — you can colorize an entire webtoon chapter in minutes and get results that genuinely hold up.
Is it perfect? No. You'll occasionally need to re-run a panel or tweak a color with edit mode. But the gap between "AI colorized" and "human colorized" has narrowed dramatically, and for indie creators who can't afford $1,000 per chapter, this changes the equation entirely.
Your black-and-white webtoon is already drawn. The art is already there. Now you can see it in color.
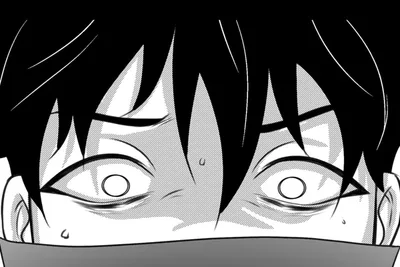
B&W
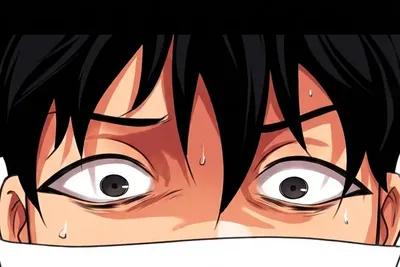
Color